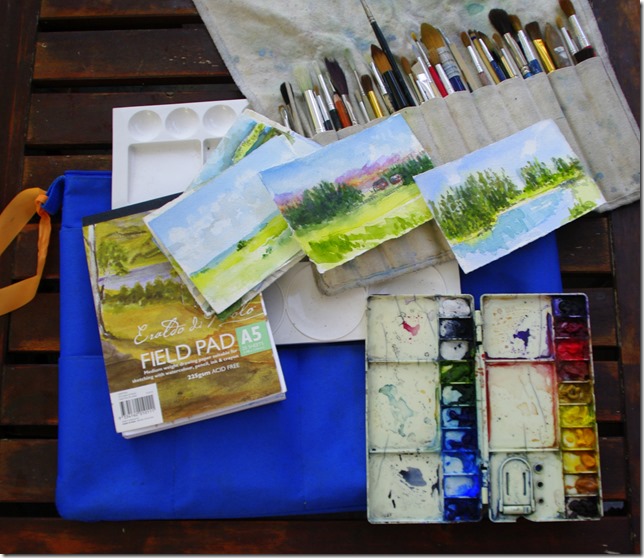
 While I was in Tassy I found the blue folio containing my art gear was a bit awkward to always carry around. weight wise it was fine it just always required being held in one hand (eg I had o put it down to take a photo etc) and it was a little on the largish side anyway. So I started leaving it behind and only sketching with what was in my camera bag (which was probably fine). But leaving my better art gear unused seemed a waste, and while passing the Kathmandu Shop in Salamanca place I decide to ask what they had as a temporary backpack to carry the artgear. After being shown a few expensive unsuitables I was eventually shown the 15L pocket pack (it rolls up into it own little pocket, and is designed to take up little room or weight in your luggage but provide a suitable “day” pack if required) It looked sturdy enough and was about the right size and price, I immediately transferred all my gear, including my Derwent Inktense pencils & blocks (a new favourite). Well, except no drawing board or individual sheets of watercolour paper, which where too large to fit. Happy ending, I carried my art gear everywhere after that.
I really like the idea of a backpack, so I resolved to make a slightly smaller drawing board to fit in the pack. It was simple to make from particle board. The shape is a little tapered and rounded at the top so it is easy to slide into the pack. Unfortunately this means half sheets are too big and I will have to settle for quarter sheets of watercolour paper! The board is ample sized for A4 sheets or an A4 sketch book held down with clips or a couple of rubber bands. I have also painted one side white and the other a darker gray. I have also been recently experimenting with notan/tonal value cards, so I figured I’d add a simple 5 step gray scale tone checker. Getting the tonnes reasonably accurate with acrylic paint was a bit harder than I expected (since acrylic paints notoriously dry darker than it looks when first mixed) so a bit of trial and error was required. The greyscale is conveniently always at the on the top or right hand side of my drawing board, so it will be easy hold the board out and check tones. The final embellishment was to drill a small hole as a colour checker. By positioning the hole over an area of colour it is isolated from the surrounding colours, and tones, and easy to compare with your work on the drawing board.
I’m not certain who much use I’ll get out of these tone and colour checking tools, but they look neat and they will always be easy to access and ready to use


No comments:
Post a Comment